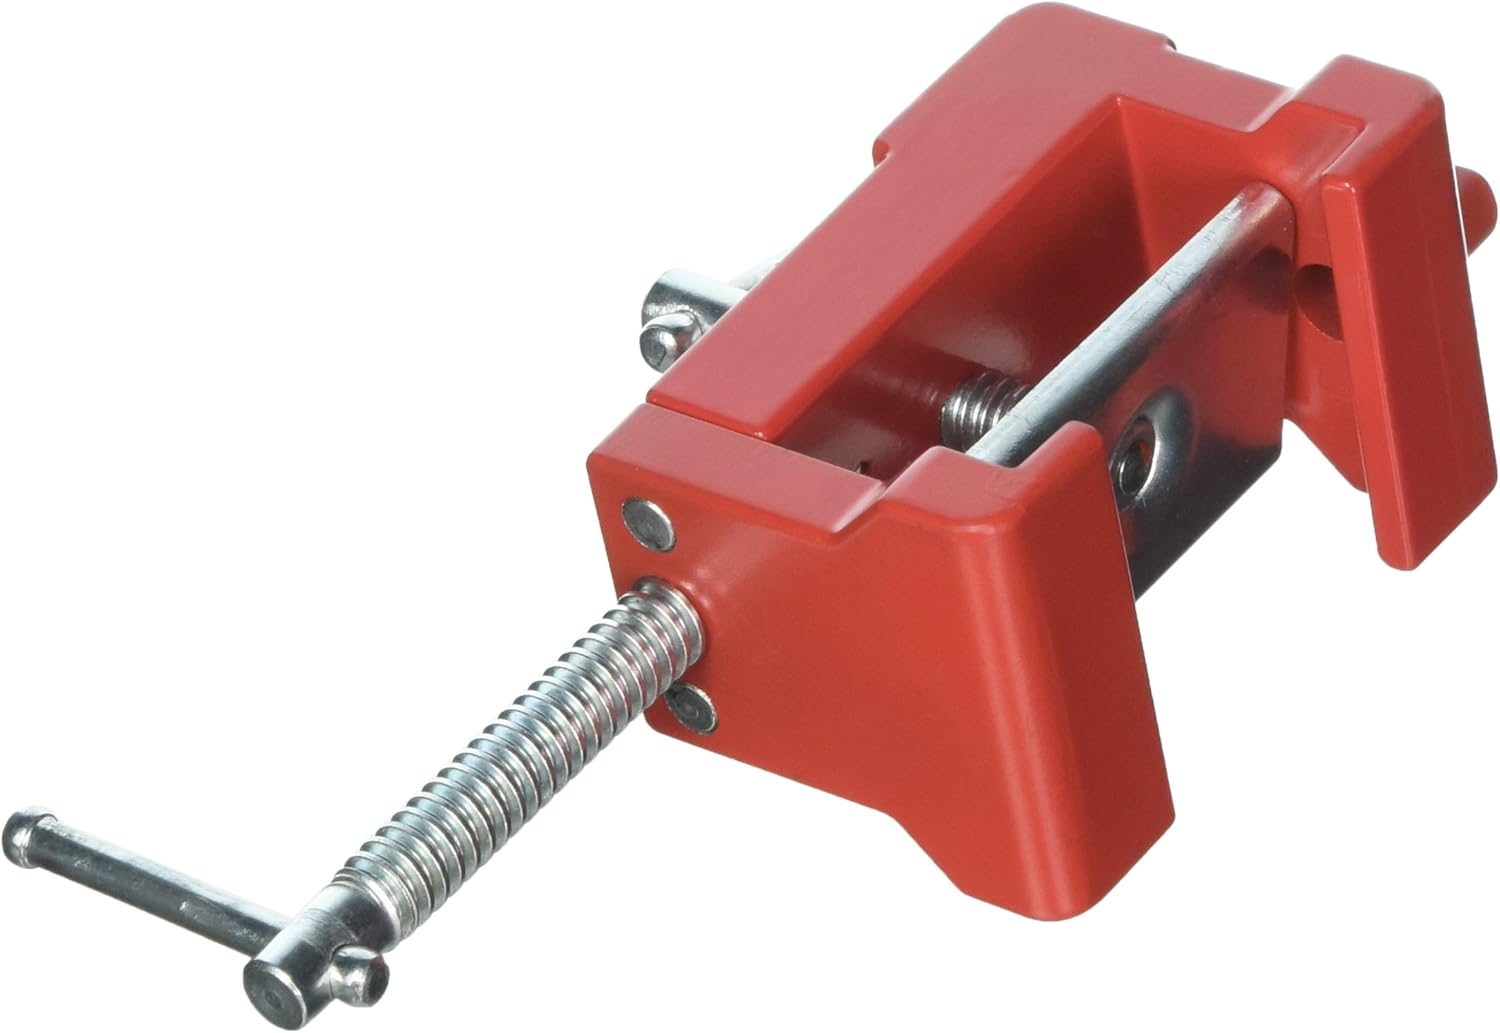
Bessey Cabinetry Clamp, Face Frames, BES8511, Pack of 2
FREE Shipping
Bessey Cabinetry Clamp, Face Frames, BES8511, Pack of 2
- Brand: Unbranded

Description
Other must-have cabinetmaking tools are self-centering bits. They come from many sources, in many sizes and many quality grades. Center Bits: These handy guys have centering guides at their tip. They allow accurate centering on a punch mark before starting your larger bit’s penetration. Center bits come in sets with various sizes and are necessary for precision drilling. 13. Hammer and Mallet Even if you can’t afford the best quality table or miter saw, you can’t afford not to invest in high-quality saw blades. Sharp and precision saw blades make all the difference in the world compared to inferior blades. Your cuts are clean, without frays and make joinery easy. This premium design also comes with an ergonomic soft-grip handle, a threaded design, making it non-slip and comfortable. The fine-tuning knob can increase grip and precision. The soft and durable plastic pad protects your workpiece, reduces indents. The clamps have a wide range of applications and can be used in a variety of industries, from woodworking to construction. A hose clamp works well in plumbing projects or other applications to secure hoses. It uses an adjustable band of metal or plastic that wraps around the material and then fastens using bolts or clasps. List of Best Cabinet Face Frame Clamps
Best Cabinet Face Frame Clamps for Easy Frame Installation 5 Best Cabinet Face Frame Clamps for Easy Frame Installation
Thank you for reading this blog post. We hope that it’s been helpful and informative to your needs in finding the best cabinet face frame clamp for your project. For more information, please feel free to leave a comment below with any questions or thoughts! Related Posts C-Clamps: These are the oldest mechanical clamp design. They’ve been around for hundreds of years. C-clamps have simple steel frames with an open throat controlled by a screw jaw. They come in a huge size range and various throat depths.
11. Drawer Pull Jig
When fixing doors and handles, make sure you use a stepladder rather than stand on the base cabinets or worktop, as this can cause unnecessary damage Find that spot with a straight 8-ft.- long 2×4 (or shorter to fit between the end walls if needed) and a 4-ft. level. Rest the 2×4 with the level on top about 1 ft. away and parallel to the wall and shim the 2×4 until it’s level. Then mark the highest spot on the floor and repeat near any other walls that’ll have cabinets. Continue until you find the highest spot. If you have two high spots, rest the board on both and find the highest one. Measure up the wall behind that spot exactly 34-1/2 in. (standard cabinet height) and mark the wall at that point. Using that mark as a starting point, draw a level line along the walls wherever base cabinets are planned (Photo 1). Level and screw the first peninsula cabinet to the adjoining standard base cabinet. You’ll probably have to fill a 1/4-in. gap with shims before screwing it to the wall studs (Photo 8). If the first peninsula cabinet is only 2 ft. wide, you may have to clamp and screw filler strips to the frame so doors and drawers in the next cabinet will have operating clearance at the inside corner. This should be marked on your plan. Start by making a light pencil mark 19-1/2 in. up from the lower cabinets (it’ll be 18 in. after the countertop is installed) and then mark the stud locations using the ones below as a guide. Next, transfer the cabinet positioning lines from below (Photo 12) and screw a 1×2 ledger to the studs even with the layout lines. It’s best to prestart the cabinet screws before hoisting the cabinets up onto the ledger. Photo 13 shows an easy method to get the screws in the right place using the cabinet positioning lines and the stud locations on the wall and then transferring them to the cabinet. You’ll often find that a cabinet, especially a narrow one, will have only one stud behind it. Don’t worry; the other cabinets will help support it too. Band Clamps: If you’re assembling large structures like cabinet boxes, band clamps make it easy to wrap and secure your work. Band clamps have malleable fabric straps and ratcheting clamp controls that allow you to carefully squeeze components.
Kitchen Cabinets (DIY) | Family Handyman How to Install Kitchen Cabinets (DIY) | Family Handyman
To clamp the cabinets together, you will need a clamping tool and some wood screws, as well as an electric drill or screwdriver. Begin by pre-drilling holes in each piece of cabinet you plan to assemble, then use face frame clamps to hold them together while you insert screws into the pre-drilled holes. Combination Saw Blades: You can get the best of both crosscut and ripping with LUXITE® carbide-tipped combination blades. If you have only one blade option for your shop, it should be a LUXITE® combination saw blade. These also come in two sizes — 10-inch 50-tooth and 12-inch 60-tooth. 5. Drilling Jig This clamp has three jaws, and one of them is fixed, and another two are adjustable. These adjustable jaws can be adjusted with two screw handle as per your need. They will produce much more pressure for holding up to 600lbs tightly. The company provided 3 protective pads for protecting the cabinet from damage.Another important factor to notice is using purpose. You must keep in your mind that where you are going to use these clamps. Are you going to use these clamps only for installing cabinet face frames or for something else? Most commercially available drawer pull jigs have multi-position, pre-set hole locations. Most have six standard off-sets as well as a common center spot. These inexpensive tools save you time during tedious pull attaching. 12. Drill Set
- Fruugo ID: 258392218-563234582
- EAN: 764486781913
-
Sold by: Fruugo