About this deal
Turns out that the driver isn’t signed and in Yosemite, driver files must be signed to be used. There’s a command we can issue to bypass this. Simply put…the computer is not even seeing anything plugged into the comm port. trying to do any more communication is pointlesss. Like not getting a dial tone on a phone…trying to continually dial out is an effort in futility. Another alternative is to buy the FTDI chip from a reliable vendor, so to be sure it is genuine, then wire your own. Here's an example of a FT232RL wired by hand to a 0.1 inch perfboard. This procedure is valid for all Serial – USB converters based on the CH340G USB-to-Serial. Installing drivers for CH340G on Windows 7 I now use TI TXU0202 in VSSOP-8 for this. Before, I used to use TI SN74LVC1T45's in SOT23-6, which can be easier to work with, as VSSOP-8 has 0.5mm pitch, whereas SOT23-6 has almost 1mm pitch, and can even be dead-bugged (soldered directly to thin wires in air). TXU0202 can handle either side with logic levels between 1.1V and 5.5V, which means it's pretty darn good for this. I also use the related TXU0304 in TSSOP-14 for SPI.
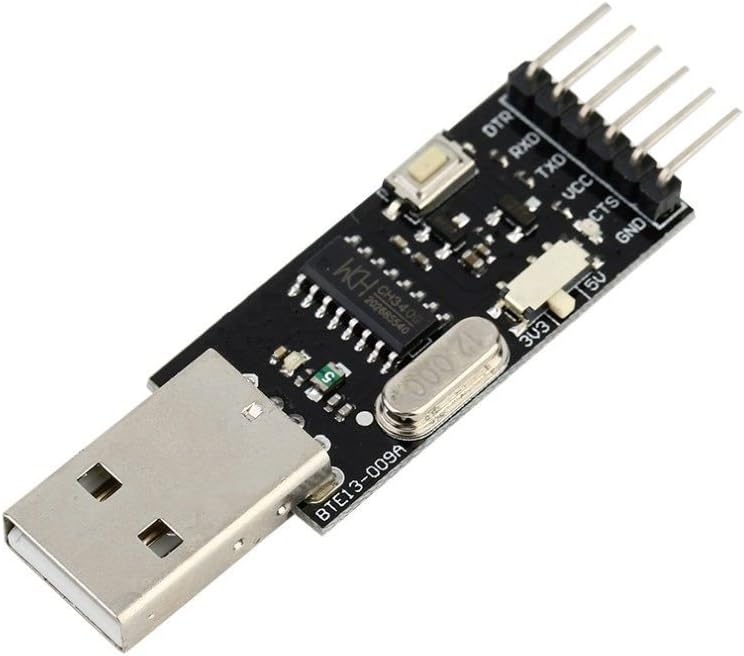
Before connecting the Serial – USB converter, make sure that the switch is positioned on the appropriate voltage value which can be 3.3V or 5V depending on the model of your Arduino. Ours works at 5V and 3.3V interchangeably. While Arduino is placed on the breadboard, only solder the four vertex joints. Why only four vertex? Because breadboard is made of plastic and if you accidentally hit it with your iron solder tip you’ll damage it. In the attached CH341SER_LINUX.ZIP file, there is a file called readme.txt which contains the detail of all the steps to follow. Note that these drivers support a kernel version from 2.6.65 to 3.13.x. I wanted to try echolink and I found that this interface worked perfectly except Echolink likes the serial PTT option.I recently posted an instructable for an FLDigi compatible interface. It was largely based on a Hamcomm interface I designed as a hand out for a Ham / PC Usergroup talk I gave in 2005. I wanted to hide the USB serial and USB sound dongles in the box so I looked through my junk box for a USB Hub. I found a 4 port hub so I decided to add a USB memory key. As an Arduino-phil I use the ESP8266 Core from GitHub to adapt the Arduino IDE to the ESP8266. It uses a somewhat different tool chain to compile the Arduino C code into binary files executable by the ESP8266, but the Arduino IDE and most libraries are the same. The only stumbling points are: So my first idea was to buy a (maybe isolated) USB adapter and putting it in a heavy enclosure with a selection switch that makes it very obvious the voltage was.
We specify that this procedure works with devices that already have a bootloader installed inside them. We have never loaded a bootloader but on the Internet there are many tutorials on the subject, such as:
6 Comments
Soldering headers can be pretty easy if you take advantage of a breadboard. Place them on it and then put Arduino over connectors.
I am a hobbyist, not an EE, with about a dozen Linux SBCs and a half a dozen WiFi switches and access points, two of them in active use running OpenWRT. An Odroid HC1 I have has an UART at 1.8V logic levels; it is probably the most ornery one I have. I need 1.8V and 3.3V, and occasionally find that 2.8V-3.0V and 3.8-4V would also be useful, so basically I want "whatever the device uses, between 1.6 and 5.3 V" or so. Then I saw level shifter like a TXB0104 - would that be something where I could simply connect RX/TX/VCC/GND on both sides and turn my brain off? keeping, as already mentioned, the Arduino inserted on the two connectors, solder the 4 pads in the corners. Why only these 4 points? Because the breadboard is made of plastic and excessive heat could damage itThis instructable is a combination of all options in one box and its built from over 90% recycled parts so its Eco friendly, hence the name.
 Great Deal